
The Elkay LVRCTL8WSC is a filtered, wall-mounted bi-level cooler that can be installed independently or paired with the LVRCTL8WSK bottle filling station.
Before You Begin
- Tools: Safety glasses, gloves, drill, wrenches, utility knife, tape measure, pencil, center punch, socket and ratchet, and 5/32" Allen wrench. Torx bits are sold separately.
- Plumbing: Provide a 3/8" O.D. unplated copper water supply with shutoff valve (maximum 3" from wall), maximum 105 PSI pressure, and a 1-1/2" O.D. drain stub extending 2" from the wall. Trap not included.
- Electrical and ventilation: Provide a recessed 3-wire electrical box and GFCI protection for new installations. Maintain 6" clearance between cabinet louvers and the wall.
- Safety and support: Use plastic drain fittings for electrical isolation. Disconnect power before servicing and secure the hanger bracket to adequate wall support.
- Installation reference: When pairing with the LVRCTL8WSK, install the cooler first but do not connect power or water until the bottle filler is installed. See the owner's manual for rough-in dimensions and detailed instructions.
Step-by-Step Installation Guide
- Prepare the mounting area: Remove the hanger bracket and mount it securely using all five 1/4" mounting holes. Follow the manual's rough-in diagrams and position the trap centerline 4-1/8" from the wall.
- Mount the cooler: Install a straight valve on the water supply tube, hang the cooler on the bracket, and ensure it engages properly with the rear slots.
- Connect plumbing: Remove the lower front panel, connect the water inlet according to the manual, and secure the waste line to the trap with its gasket and slip nut.
- Install the filter: Remove the cartridge's protective cap, insert it into the filter head, and turn clockwise to lock. Use a retrofit kit for horizontal mounting below the unit if cabinet space is insufficient.
- Check connections and power: Turn on the water and inspect for leaks. Once connections are secure, restore electrical power.
- Adjust and finish: Check the water stream, factory-set for 45–50 PSI. Adjust through the pushbutton access hole if needed, aiming for the basin approximately 6-1/2" from the bubbler. Reinstall the front panel after testing.
Looking for the Elkay LVRCTL8WSC ezH2O Vandal-Resistant Bi-Level Cooler?
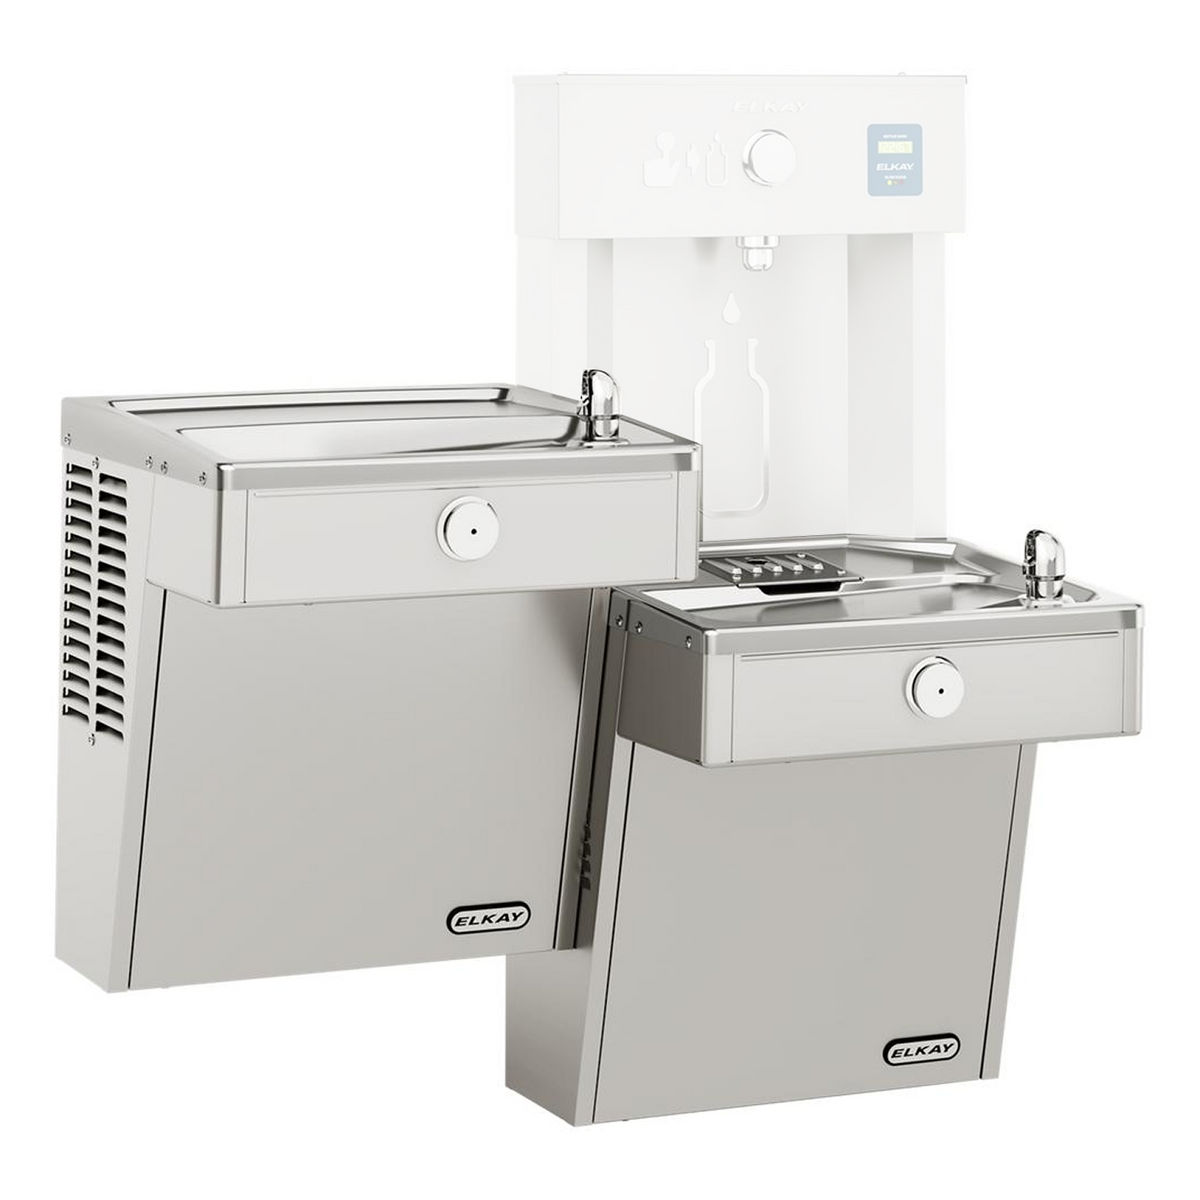
Bi-Level Cooler, Filtered Elkay LVRCTL8WSC ezH2O vandal-resistant bi-level cooler with filter. The cooler component of the LVRCTL8WSK bottle filling station.
Shop Now