
The Elkay EZWSR ezH2O Bottle Filler Component adds touchless, sensor-activated bottle filling to a compatible Elkay water cooler. It is a bottle filler only, not a complete unit, and it is for indoor use only.
Before You Begin
- Tools needed: Safety glasses, gloves, 3/4" wrench or crescent wrench, 5/16" nut driver, utility knife, tape measure, pencil, center punch, 1/2" socket and ratchet wrench, and 5/32" and 7/64" Allen wrenches. Mounting bolts for the wall plate are not included, so use fasteners suited to your wall type.
- Safety first: Installation must comply with all applicable plumbing and electrical codes. Use a cold water line only, with a maximum inlet water temperature of 100°F (38°C). If your supply pressure could exceed 100 psi, install a pressure regulator to keep it at or below 100 psi. Do not use with water that is microbiologically unsafe or of unknown quality without adequate disinfection before or after the system.
- Compatibility: Confirm that your Elkay cooler is compatible before you begin. Coolers with model numbers ending in 1, 1A, 2 or 3 must be removed from the wall for this installation and follow alternate steps in the owner's manual.
- Power and drainage: Any drain fittings you supply should be plastic, to electrically isolate the fountain from the building plumbing. A ground fault circuit interrupter (GFCI) is recommended for the cooler and bottle filler.
- Wall support: The wall mounting plate must be supported securely. If the wall cannot provide adequate support, add a fixture support carrier.
Step-by-Step Installation Guide
- Turn off power and water, then unplug the cooler. Remove the lower front panel and the basin assembly, disconnecting the water line, drain, and push bar wires. On bi-level coolers, do this on both units. Coolers ending in 1, 1A, 2 or 3 must come off the wall first.
- Pressurize the water system with the supplied tubing, union, and tee, as shown in the owner's manual. On bi-level coolers, cut poly tube "H" and insert the supplied tee instead. Mount the optional filter head now if you are using one.
- Move the bubbler to the new basin and reassemble the basin and shroud. Reinstall the basin, then reconnect the water line, push bar wires, and drain.
- Remove the bottle filler's top cover and wall plate. Mark the six mounting holes on the wall, anchor the plate, then feed the power cord and water line through the gasket and cooler top. Set the bottle filler on the plate tabs and refit the top cover.
- Connect the bottle filler's 3/8" water line to the tee inside the cooler, with the insulation on. Install the filter cartridge if you are using one.
- Turn on the water and check for leaks. Plug in the unit and restore power, then confirm the green LED lights up and water dispenses when you put a cup in front of the sensor. Reinstall the lower front panel.
Looking for the Elkay EZWSR ezH2O Bottle Filler Component?
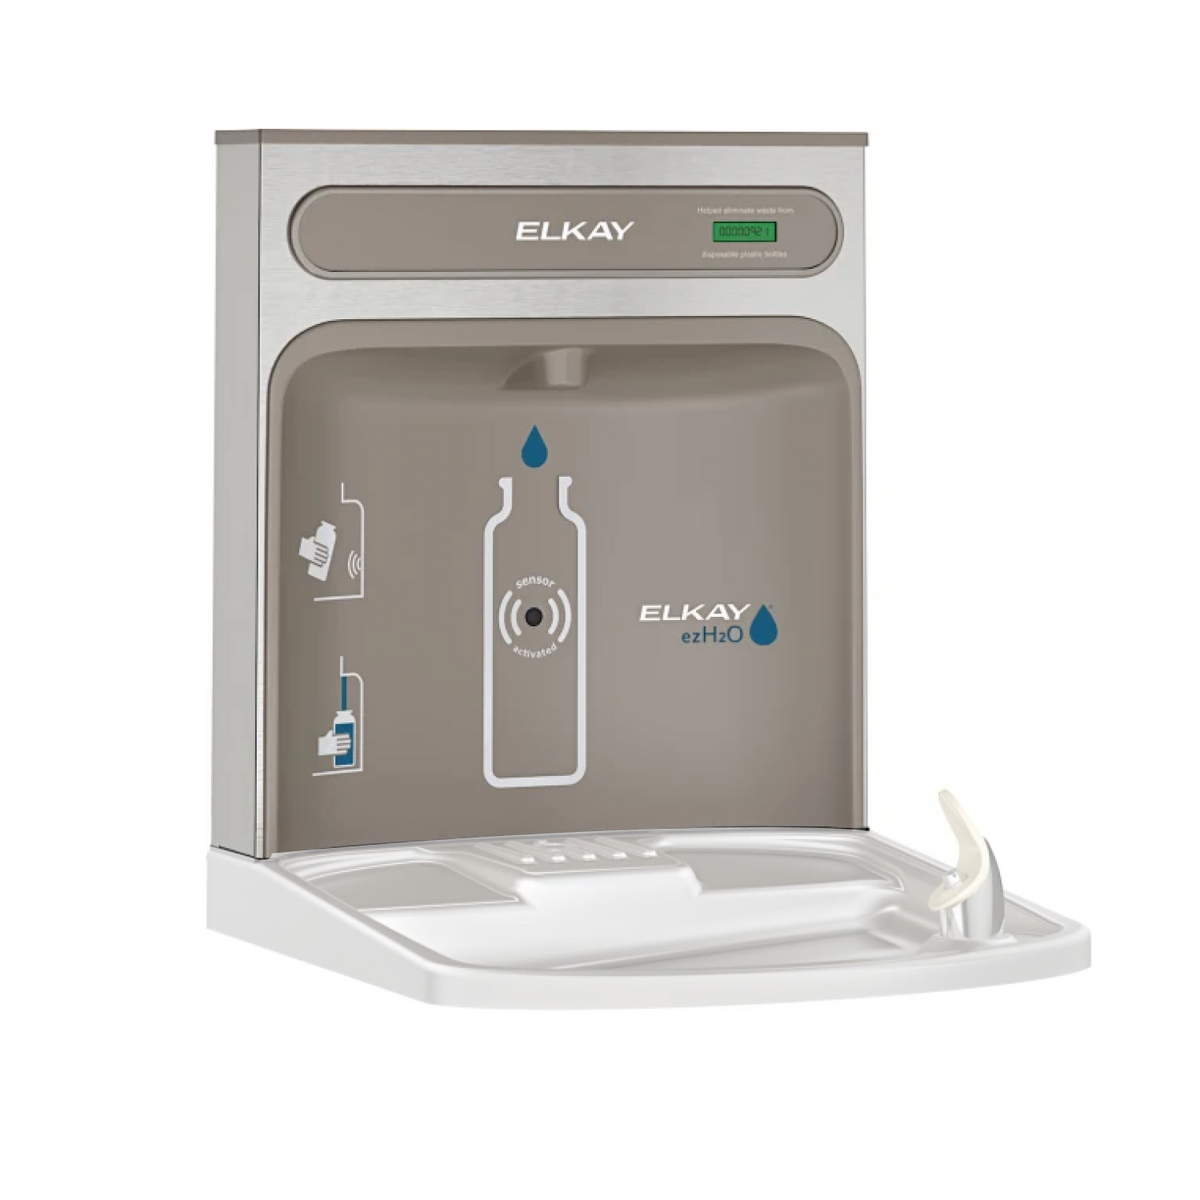
Bottle Filler Component Elkay EZWSR ezH2O touchless, sensor-activated bottle filler for compatible Elkay water coolers.
Shop Now